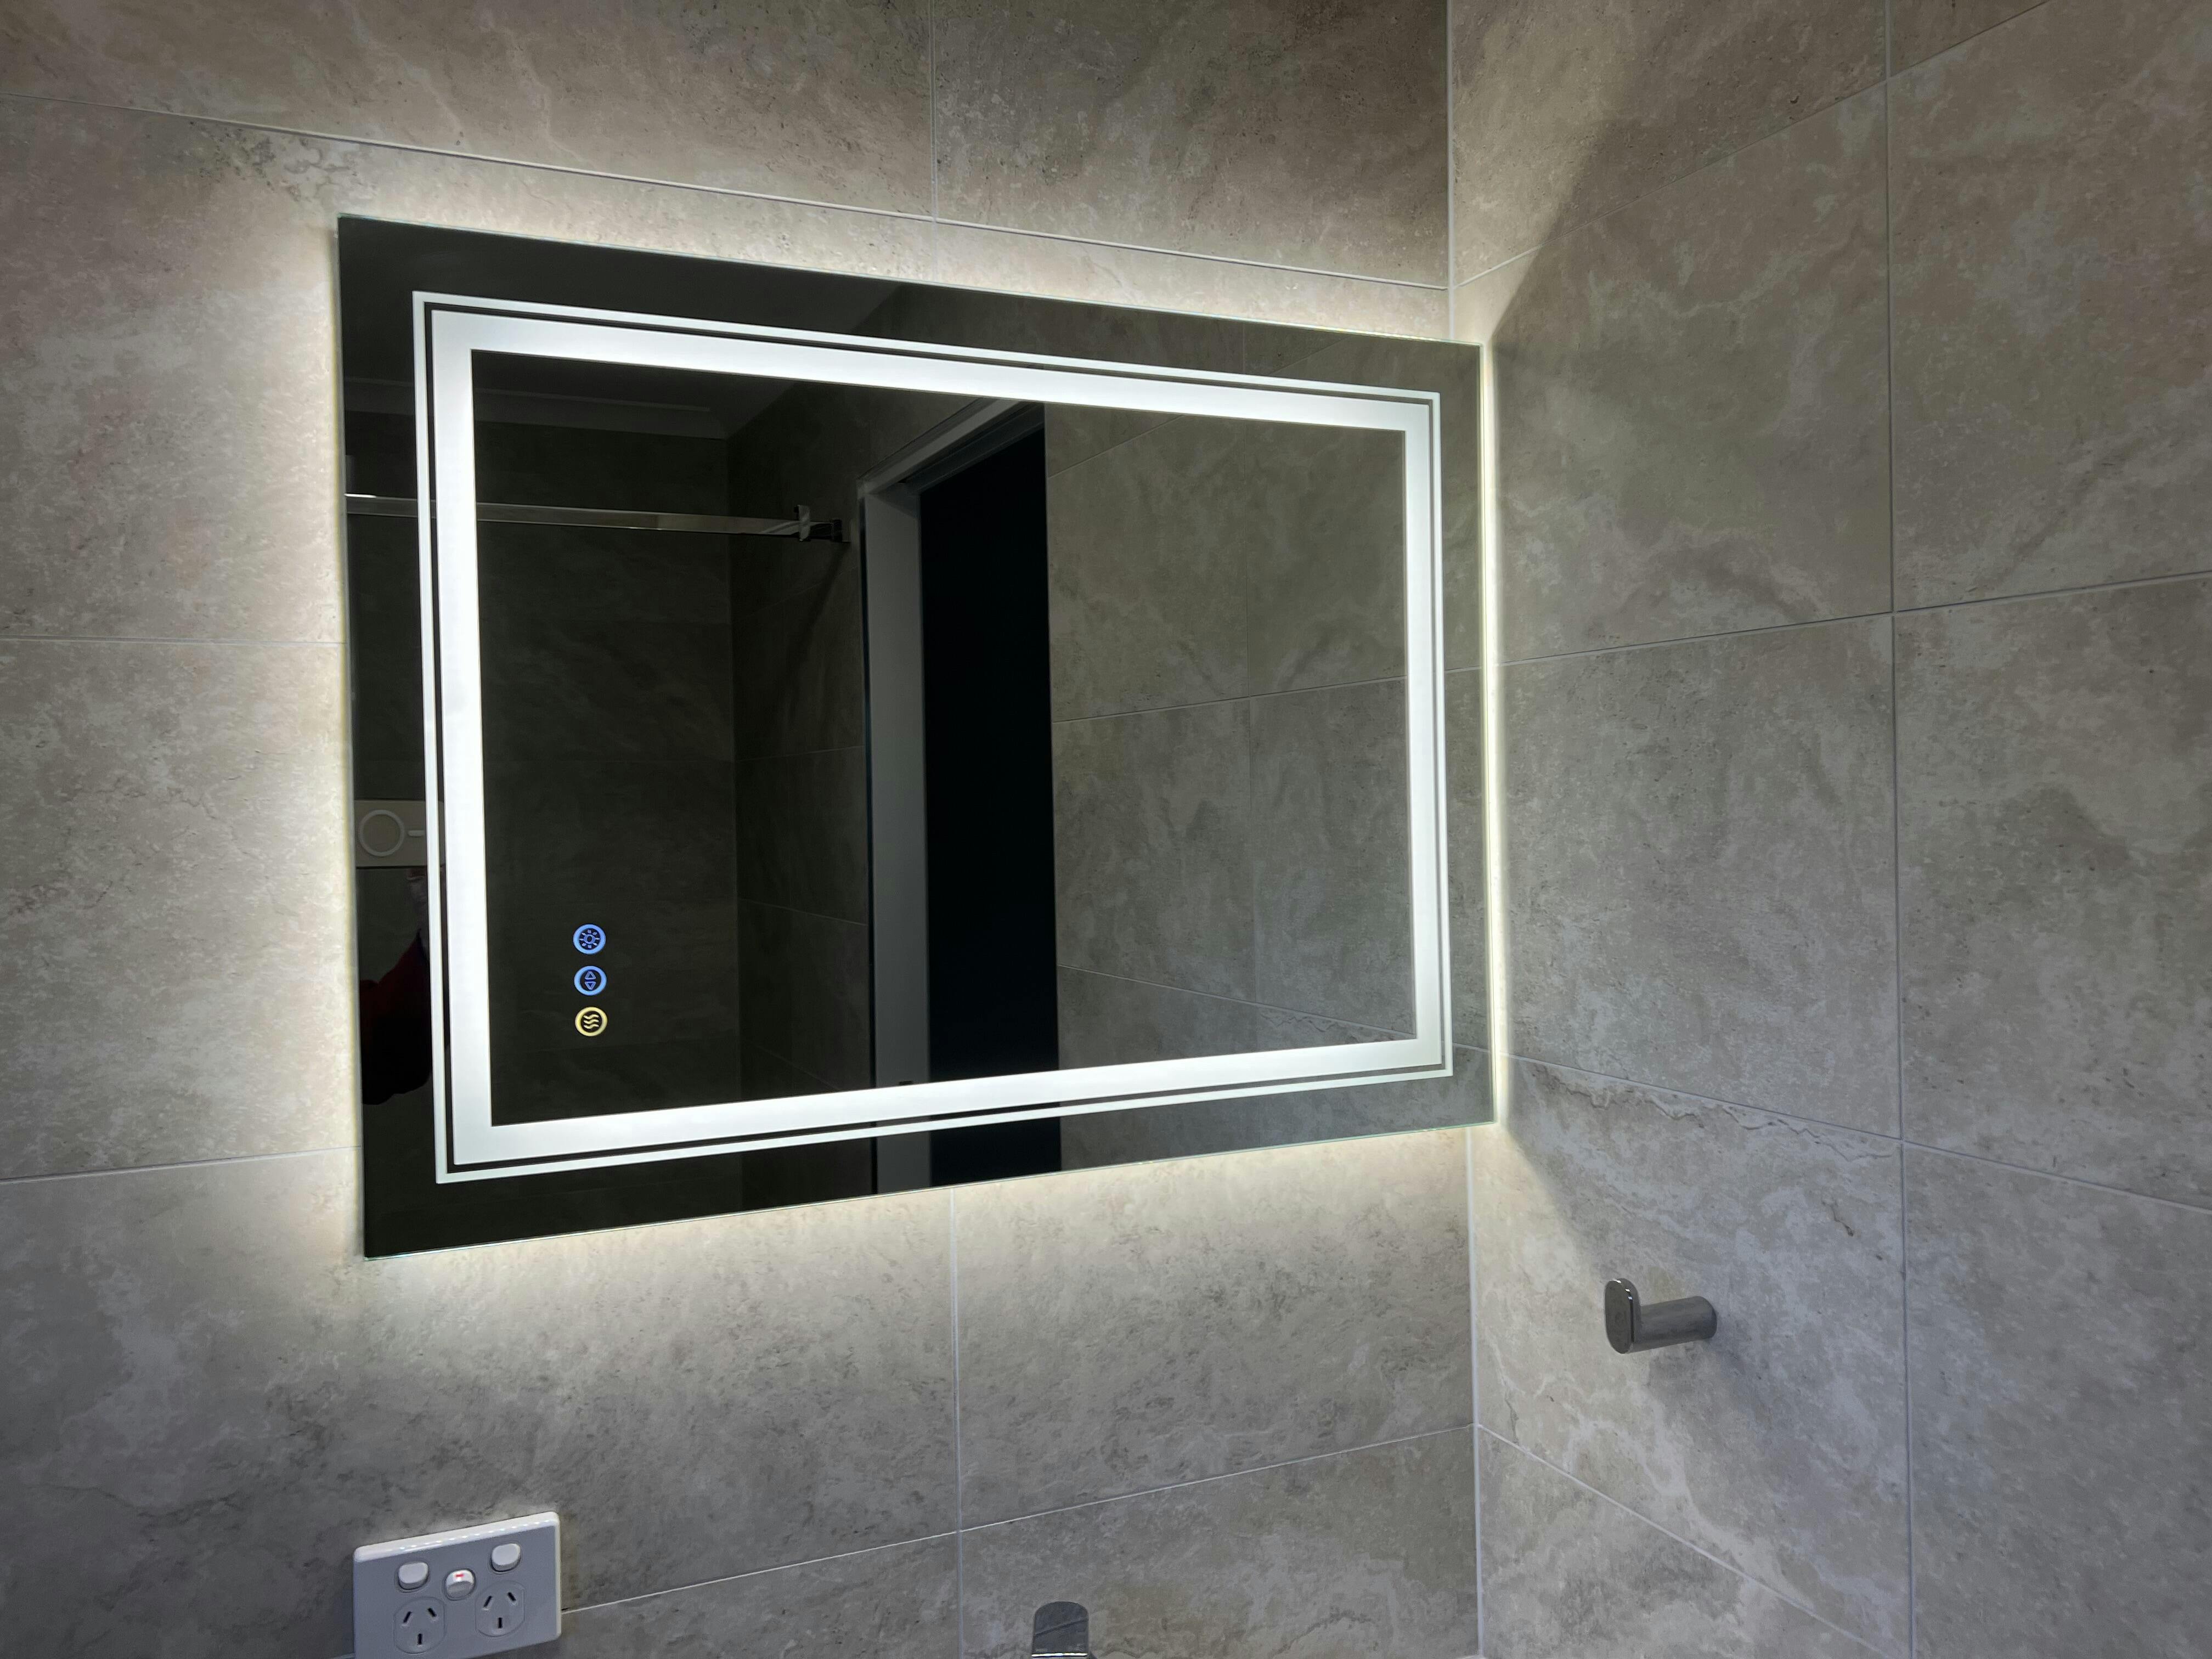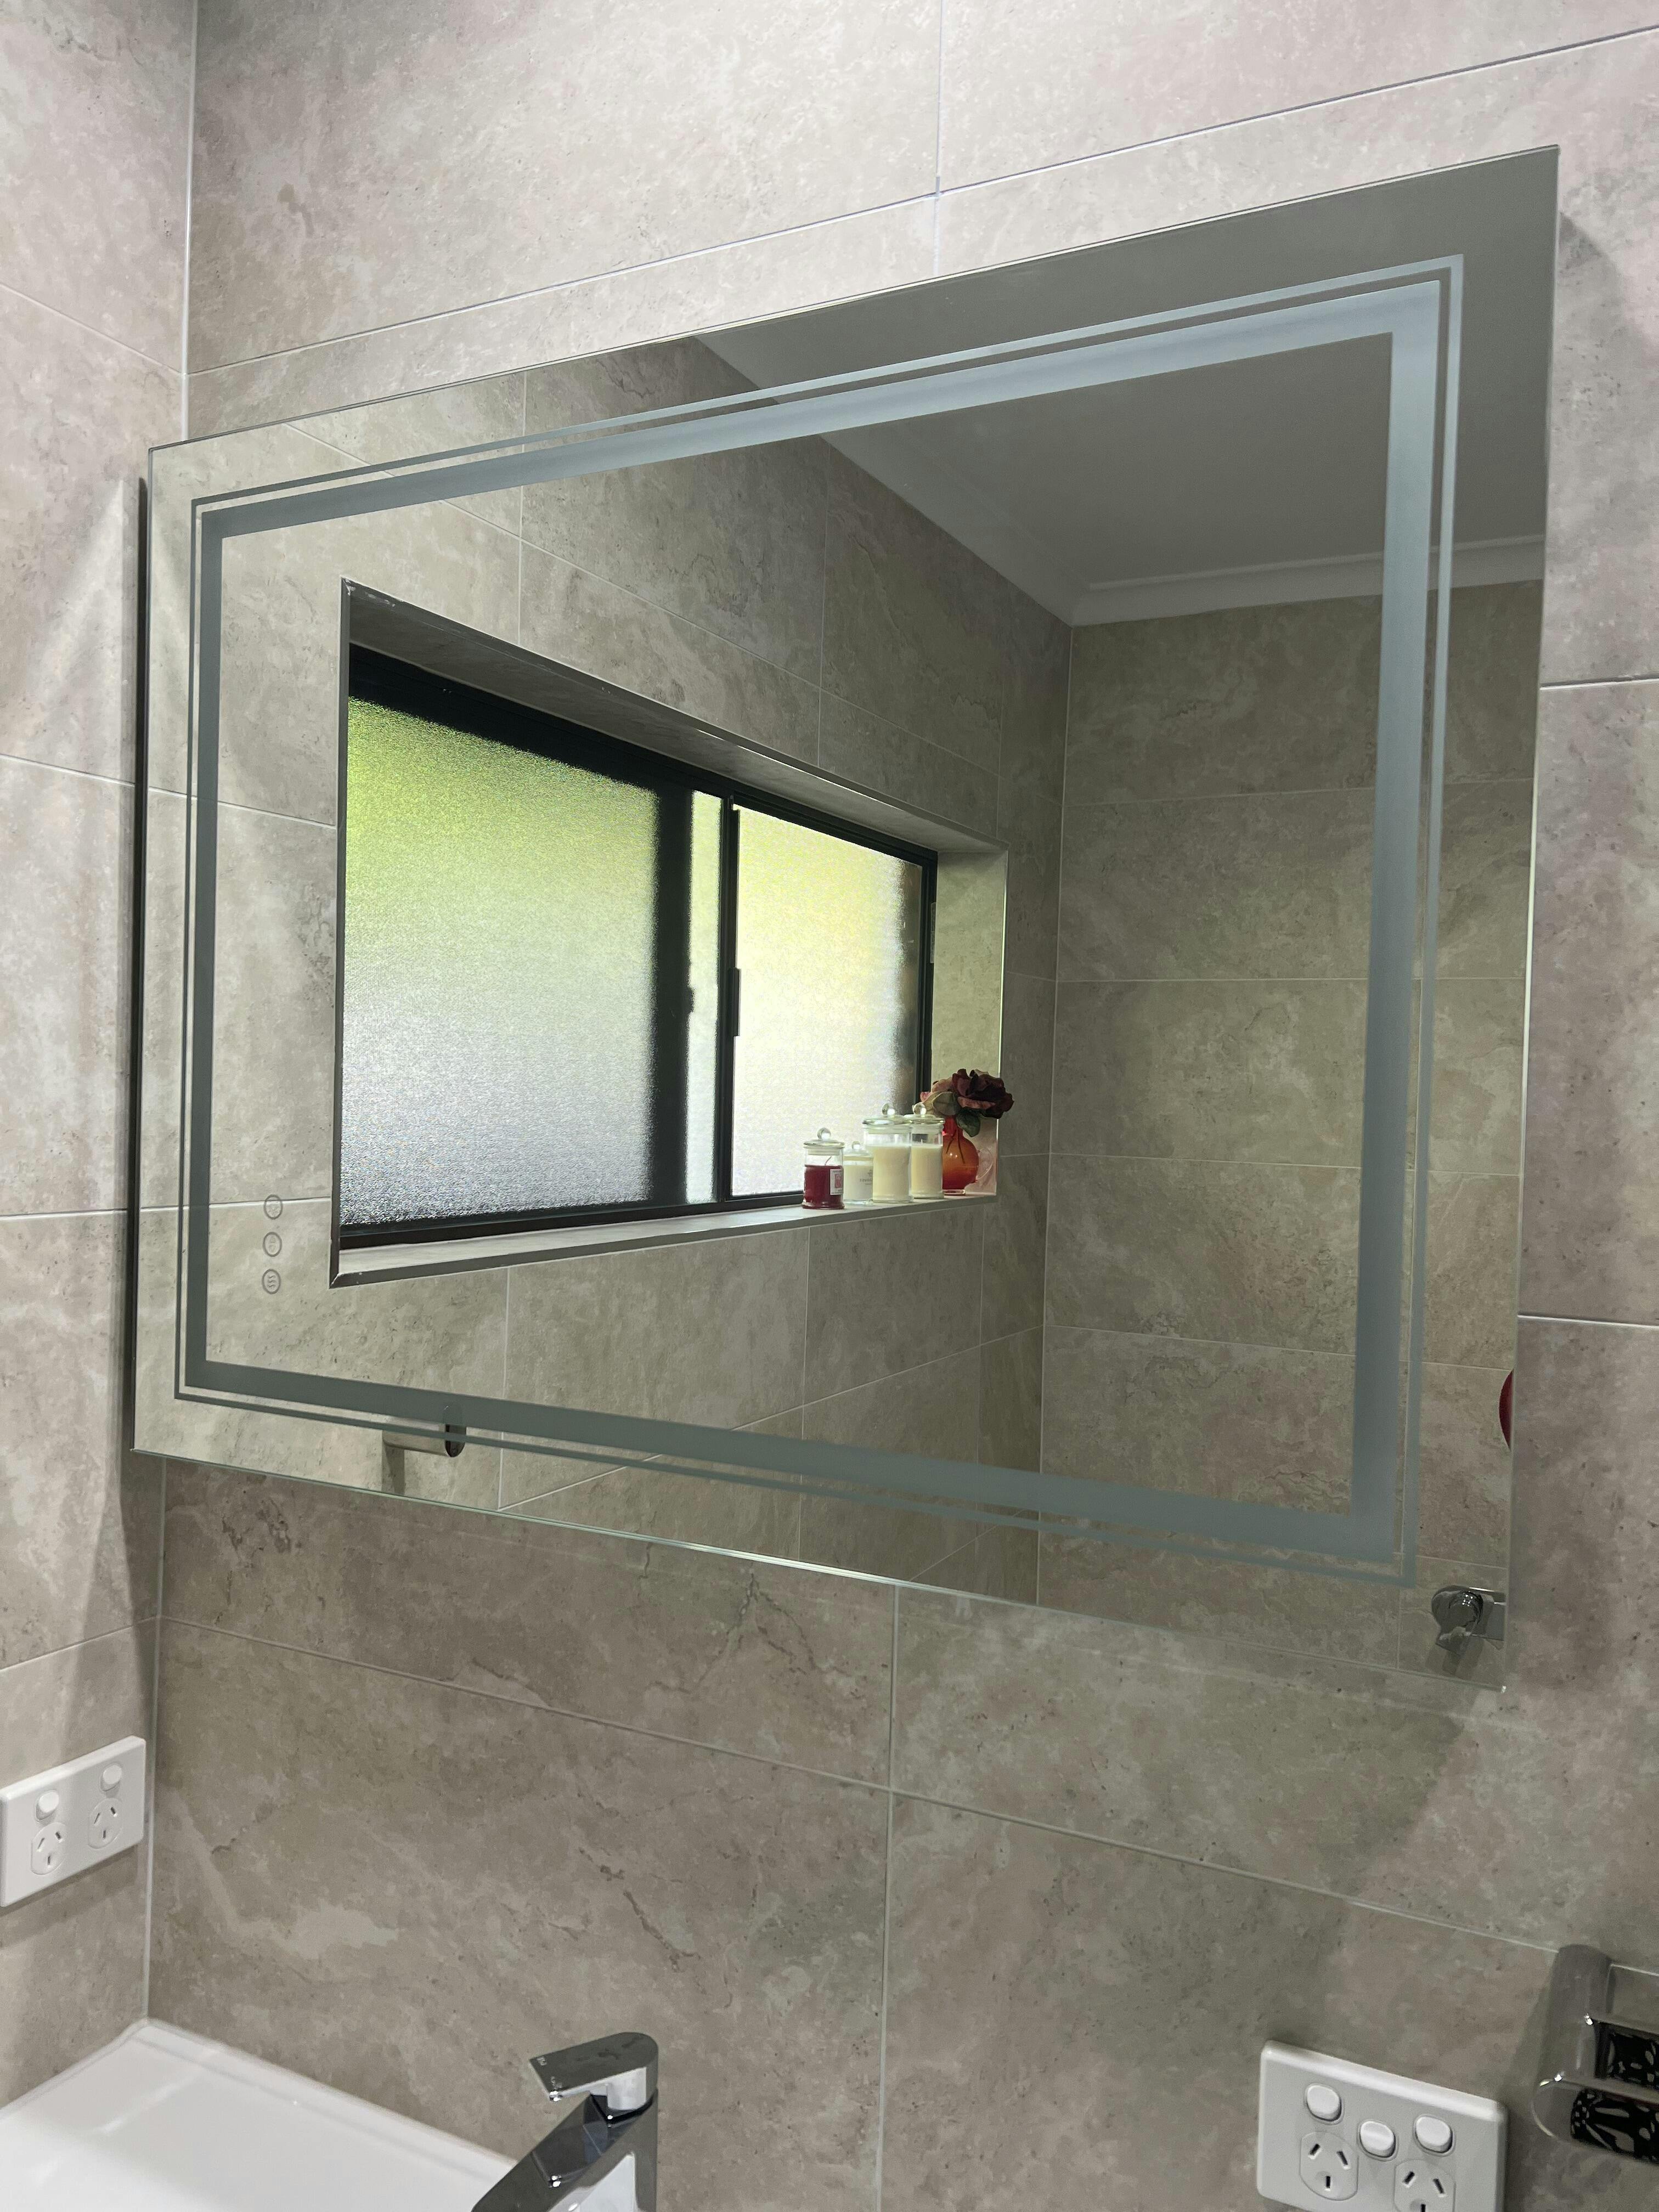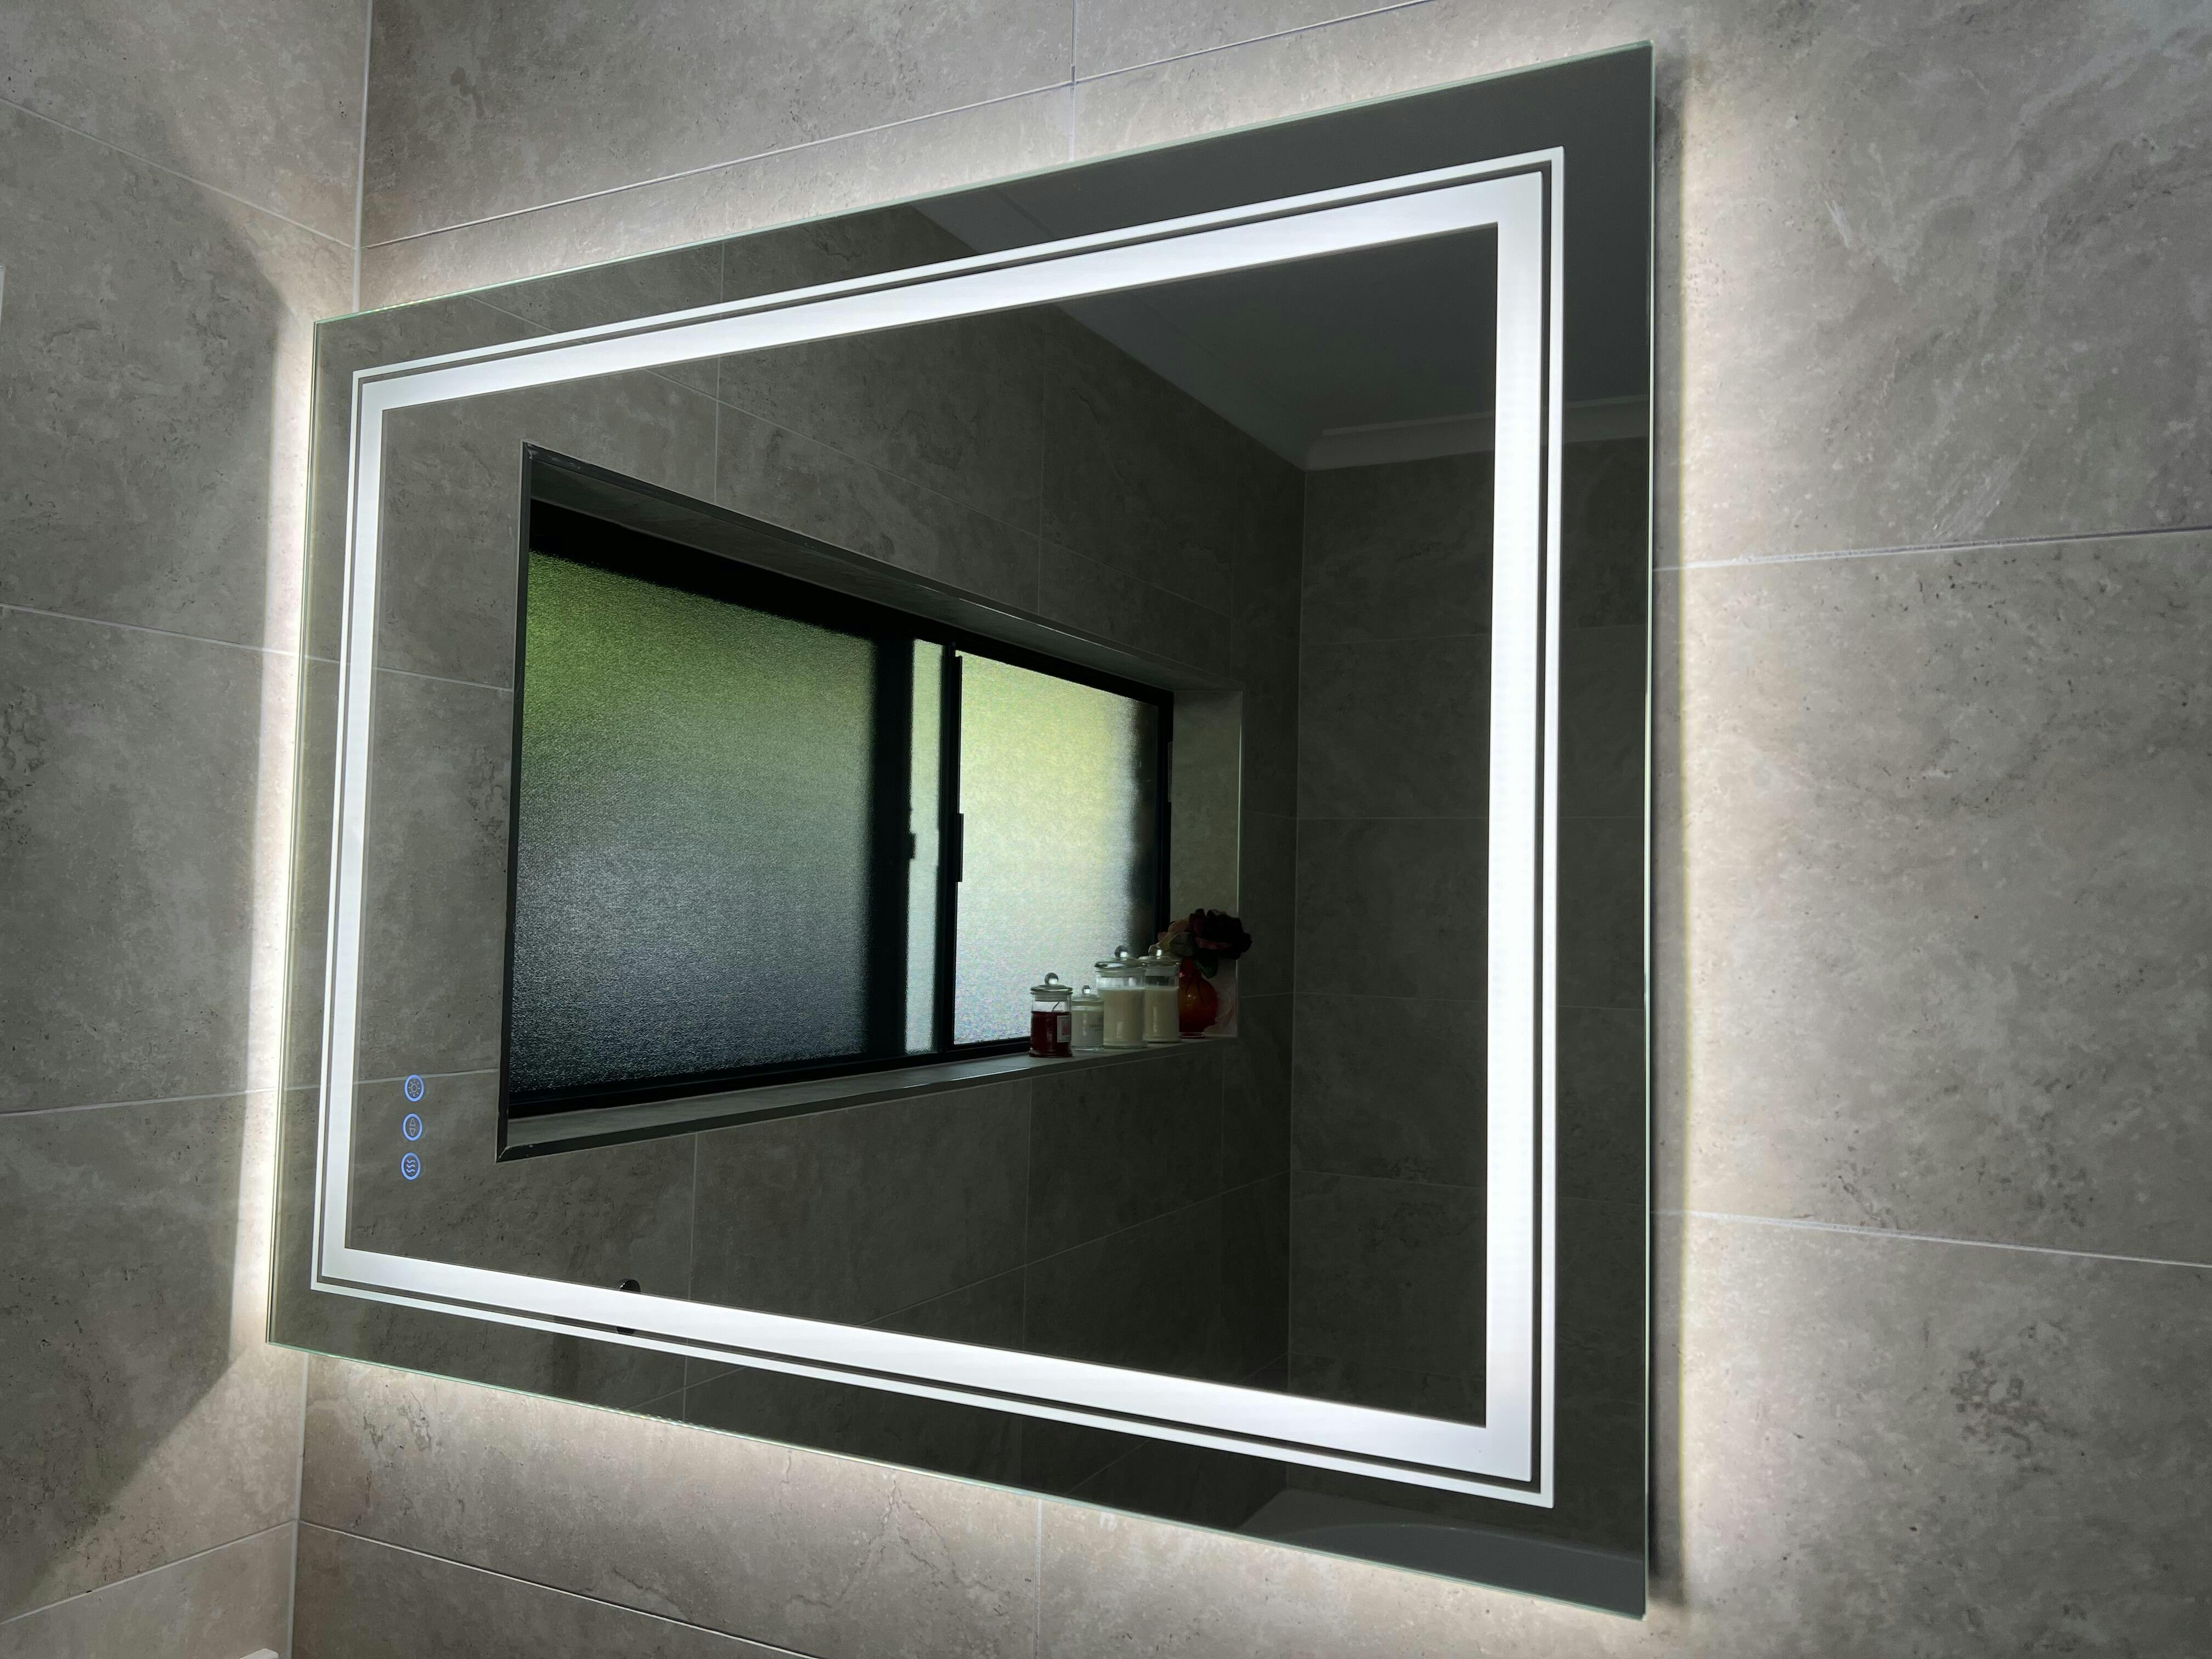
How to hang a heavy mirror on drywall
Hanging heavy and fragile mirrors can be a daunting task if you’ve never done it before. Luckily, with the right steps and tips, it is pretty straightforward. In this blog post, we'll walk you through how to hang mirrors on drywall.
Before you get your hands dirty, it’s important you know these four things:
1. The tools you’ll need
2. Mirror weight
3. Your wall type
4. Hanging hardware
1. The Tools You’ll Need
Here is a checklist of the tools and supplies you need for installing your mirror.

- Screwdriver or drill
- Measuring tape
- Pencil
- Level
- Stud finder
- Hanging hardware such as D-rings, hanging wire or metal brackets (French cleats)
- Wall anchors and screws
2. Determine Mirror Weight
Look for the mirror’s weight in the product specs or weigh using a bathroom scale.
3. Know Your Wall Type
Newer houses and buildings are typically made from drywall, while older buildings usually have plasterwall. You can determine whether you have drywall by sticking a pin into your wall. It’s drywall if it pushes through easily.
As drywall is a softer material than plasterwall, strong wall anchors (such as molly bolts, toggle bolts or self-drilling anchors) are recommended to safely support the mirror’s weight on the wall.
Masonry walls that are made of brick, concrete or stone require specialised installation tools, including a hammer drill and masonry drill bits. Expansion bolts, wedge anchors and sleeve anchors work well with this wall type.
4. Select Hanging Hardware
It’s time to select the appropriate hanging hardware. Some hardware options include: D-rings, hanging wire and French cleats. You’ll also need wall the right anchors and screws based on your wall type and mirror weight. Let’s dive deeper into what each of these are:

D-Rings Only: D-rings are metal hardware shaped like the letter 'D' attached to the back of the mirror frame and serve as a reliable mounting point. The weight they can support varies based on their size and material. Make sure to check the D-Ring is appropriately rated for the mirror weight. For heavier frames, we recommend using 2-hole D-Rings instead of one as they generally have a heavier weight capacity than 1-hole D-Rings.
D-Rings and Hanging Wire: D-Rings are best used with hanging wire to distribute the weight more evenly across the wall and reduce the risk of the mirror tilting or falling. The weight capacity of hanging wire depends on the material it is made out of. As with the D-Rings, make sure to check the wire load rating to ensure it’s suited for your mirror weight.
Metal French Cleats: French cleats are a robust and secure option for heavy mirrors. These are metal brackets with an interlocking design that can support substantial weight. The length of the French cleat should ideally be at least 50-75% of the width of the mirror. This proportion helps distribute the weight evenly and provides sufficient support. Make sure to check the cleat is suited to your wall type and mirror weight. It's also advisable to choose a cleat with a weight capacity higher than the actual weight of the mirror for added safety.
Wall Anchors and Screws: A wall anchor is a fastener used to securely attach objects to walls. It helps distribute the weight of the object and prevents damage to the wall. When attaching directly to a wall stud is not possible, wall anchors will do the trick. There are a variety of wall anchors for different wall types and weight capacity. Most anchor packaging will tell you how much weight the anchor can hold, what type of wall it should be used on, the drill bit size you’ll need for install as well as the wall width the anchor will work with. It’s good practice to choose a wall anchor that can hold more than the mirror weight just to be safe.
Some common anchors for drywall include molly bolts, toggle bolts, and self-drilling anchors.
- Molly Bolts: Molly bolts are a type of hollow wall anchor and suited for light to medium weight mirrors. It consists of a screw that passes through a metal sleeve. When the screw is tightened, the sleeve expands, creating a secure anchor point behind the wall surface. Molly bolts are unique because you can take out the screw and put it back without compromising the anchor. They come in plastic or strong zinc-plated steel, but the metal ones are better for holding heavier mirrors and last a longer time.
- Self-drilling Anchors: A self-drilling anchor, or threaded anchors, can be made of plastic, hard nylon or metal and is a type of anchor that doesn't require pre-drilling. It has a pointed tip, allowing it to be directly inserted into the wall material with a screwdriver. As the screw is driven into the anchor, it expands, and becomes securely wedged within the drywall.
- Toggle Bolts: A toggle bolt is another type of hollow wall anchor and are a heavy duty anchor rated for objects to about 45kg, or as marked. It consists of a bolt with spring-loaded "wings" that open up once the bolt is inserted through a pre-drilled hole in the wall. The wings then fold back, securing the bolt in place and providing a stable anchor point.

5. Choose Your Hanging Location
Now you’re equipped with everything you need, it’s time to decide where to hang your mirror. Position the mirror opposite something aesthetic you’d want to reflect.
Use a stud finder to find any wall studs, pipes or wires in the area. It's best to hang a heavy mirror on a wall stud if you can, but sometimes the studs aren't in the desired locations. If so, just use wall anchors to hold the heavy mirror in place. Just be careful not to drill into pipes or attach screws to live wires. Mark the positions of two adjacent studs in the wall near the intended installation area.
6. Measure and Mark the Wall
Once you’ve decided where to place your mirror, draw a line on top of the frame to mark the position. Use a level to ensure the mark is straight.
D-Rings
Measure the vertical distance from the top of the frame to the D-ring. Then, measure the horizontal distance between the D-rings. Transfer these measurements to the wall.
D-Rings and Wire
Grab your hanging wire and secure it to the D-rings at the back. View this video tutorial demonstrating the proper method for tying hanging wire on D-rings.
Raise the wire taut. Then, identify two equidistant mounting points at least 30cm apart or more. You don’t want them too close together to distribute the pressure equally across the wire.
Once you’ve found the two points, it’s time to mark them on the wall. Measure the distance between them and the distance between the taut wire and the top of the mirror. Transferring these measurements to the wall making sure to level the two mounting points.

French Cleats
Measure from the top of the mirror to the top of the bracket and mark this on the wall. Lay the cleat on the wall and use a level to straighten. Draw a line tracing the length of your cleat and mark the screw holes. If you can line up the screw holes to the wall studs, it’s even more secure.
7. Install the Hardware
How to install wall anchors:
If you’re not hanging on a stud, you’ll need to install the wall anchors. Drill a pilot hole in the mounting points you marked in the previous step. Then insert the anchor, securing it flush against the wall using a screwdriver or drill. Turning the screw into the anchor causes it to expand and grip the wall. Make sure to leave about a quarter of the screw exposed to secure the D-Ring or hanging wire. Check out the below video on how to do this.
How to install French cleats
Follow the below steps and watch the video tutorial on how to install a metal French cleat.
- Attach the wall cleat: Drill the needed holes on the wall using a power drill. Then, insert the wall anchors and drive in the screws with the cleat in position. Make sure that it is still level.
- Attach the mirror cleat: Attach the other cleat on the back of the mirror. Lay the cleat against the top of the frame making sure it’s straight and centred and then attach the screws. Ensure the screws do not protrude out the other side of the mirror frame.
- Hang the mirror: Gently lower the mirror onto the wall cleat, allowing the two pieces to fit together.
8. Hang the Mirror
Carefully lift the mirror and hook it onto the D-rings or wire over the tops of the screws, ensuring it is level and secure. For heavy mirrors, have a helper hold the mirror while you attach it to the wall anchors.
Now step back and admire your hard work!
Please note, if you are still uncertain or nervous about installing the mirror yourself, it's best to seek the help of a professional to ensure proper and safe installation.
Please contact us at sales@mirrorspace.com.au and we can help arrange this for you. Sydney customers only.